How to DIY a Fringed Flannel Blanket or Scarf
Posted: December 19, 2017 | Author: Southern Utah University | Read Time: 1 minutes
 Materials
- Plaid flannel--look for higher quality flannel in the shirting section of the fabric store. You need to make sure the plaid is woven, not just printed on the fabric.
- For a throw blanket try to get a piece that is 60” wide by 1 ½ or 1 ⅔ yards.
- For a scarf you need a piece of fabric that is 20 to 30 inches wide by two yards. You can buy two yards of fabric and cut it in half the long way to make two scarves.
- Scissors
- Seam ripper or yarn needle
Instructions
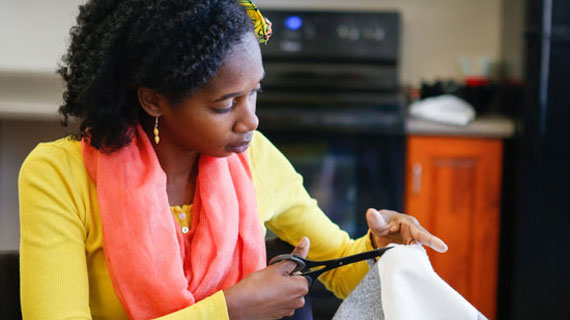
Prepare your fabric by washing and drying it. When the fabric is dry, trim all four edges. Use your scissors and cut very straight using a line in the plaid as a guide. Along the long sides you will need to trim away the selvedge which is the edge produced during manufacturing that keeps the fabric from unravelling. Along the other sides you just need to trim the fabric to make sure it is straight.
Next you can start creating the fringed edges. On one side use the seam ripper, yarn needle, or your fingernails to find the very first string. Pull it out toward the edge of the fabric, then gently tug to remove it. If it breaks, just find the end and keep pulling. Continue this process, pulling strand after strand to create a fringe. You can sometimes pull multiple strands at once, but doing too many can tangle the fringe and make the process more difficult. Stop this process when the fringe reaches your desired length, then complete the other three sides. That’s it!
Check out more last minute DIY gift ideas.
This article was published more than 5 years ago and might contain outdated information or broken links. As a result, its accuracy cannot be guaranteed.
Tags: Blog